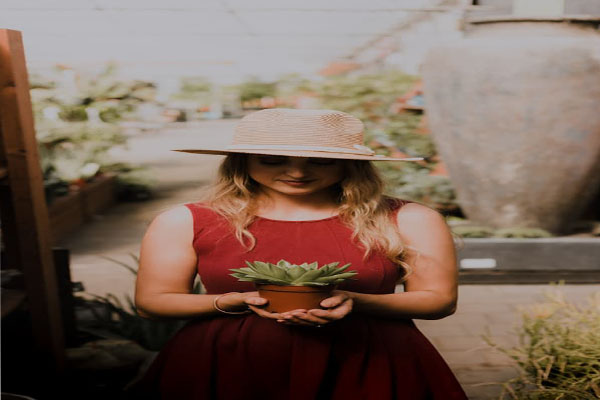
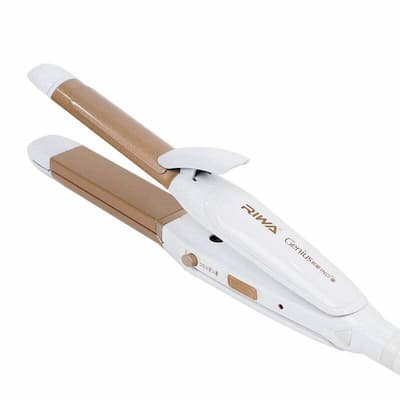
The Beachwaver is a very basic curling iron accessory. It has a traditional barrel that comes in three diameters (.75 inches, 1 inch, or 1.25 inches), a tiny clamp that holds each strand in place, an on/off button, and plus/minus buttons to control the temperature from 290 to 410 degrees Fahrenheit. So, the article will give useful tips on how to use beachwaver.
Table of Contents
How To Choose The Right Size Beachwaver?
Do you have cute shoulder-length, shorter-than-shoulder, or bob hairstyles? You will love the 3/4-inch barrel of the Beachwaver S.75. Additionally, it can be used to intensify your natural curl or add super-textured waves to long hair!
All hair types and lengths benefit greatly from our timeless Beachwaver S1. You get waves that feel like they just left the beach from this one-inch barrel. If this is your first Beachwaver purchase, start here.
Try the Beachwaver S1.25 if you have medium to thick hair and hair that is shoulder length too long. You’ll get comfortable waves from this larger, 114-inch barrel that will feel like you just got a blowout!
Usage Of The Beachwaver
Since I have long, thick hair and choose loose, beachy curls, I used the biggest curler, the S1.25. However, those with thinning hair or who select tighter curls may also choose S1 or S.75. I like to have my curls all pointing in the identical course and constantly have the proper buttons to twist them, however, it is simply a depend on private desire and the fashion you want.
Similarly, I both use small tongs to clip the ends of my hair for a greater regular curl or begin with a few inches for a greater informal seaside wave like you would with a curling iron.
I’ve discovered that with a thermal spray, Revlon’s first step straightening works best. I set the curling iron to 390 ranges Fahrenheit and held it vertically as a substitute for horizontally, keeping it on everyone for about eight seconds earlier than releasing it. However, the warmth and length of every wave rely mostly on your hair type. If your hair is thinner, you can use fewer energy and maintain it curly for much less time.
I break up my hair into sections and used styling clips like this to reduce open my already frizzy hair. I have a lot of hair and it takes me about 15 minutes to curl my complete head. After that, I let my curls set for 20 to 30 minutes (usually whilst I’m placing on make-up and getting dressed). Then I flip my hair upside down and brush my fingers gently, parting the curls slightly. Finally, I brought some smoothing serums to polish the frizziness and float of the hair.
Read about: Is Hard Water Bad For Your Hair: How To Deal With It – Make Up Is My Art
It does take a little exercise to get entirely used to seaside waves and make it a rapid process. When I first tried the curling irons, the identical colleague who complimented my hair sold one as quickly as I printed my secret. After the first two uses, she lamented that she did not get the equal results. After about a month, however, she was once additionally raving about it as she received the dangle of it.
Using Temperature
We advise using a lower temperature—between 290°F and 310°F—if you have fine hair or if you just colored your hair.
Our suggested temperature range for medium to thick hair is between 330°F and 370°F.
We advise raising the temperature to 410°F if you have obstinate hair that won’t retain a curl or are #blessed with thick hair.
Using Speed
QUICK SPEED
Switch to the fast pace once you feel confident using the Beachwaver to curl your hair. Faster pace yields quicker outcomes, especially with extra-long hair!
Here’s how to change the Beachwaver’s speed.
SLOW VOLTAGE
If you are a beginner at Beachwaver, use the slow speed. You have more control over the rotation when utilizing the slow speed, which gives you an opportunity to get accustomed to how the Beachwaver functions.
For short hair, baby hair, and hair near the scalp, the slow pace is ideal.
How To Adjust The Temperature Of Beachwaver?
With the Beachwaver’s digital temperature control, you can quickly change the iron’s heat! To raise or lower the temperature, press the “+” or “-” buttons, respectively.
Simply unlock by pressing the power button once, then modify using the “+” or “-” keys, to change the temperature while you’re styling.
How To Avoid Clamp Marks When Curling Hair?
If you turn the iron in the wrong way, clamp marks may appear, although this is simple to avoid.
Hold your Beachwaver erect with the clamp towards the mirror while curling away from your face. Clamp the end of your hair, then rotate away from your face by pressing the outside arrow.
Watch how to do it correctly (and incorrectly!) below.
How To Change The Direction Of Curls?
We always advise beginners to begin by curling everything away from their faces. To begin, position the clamp so that it is facing forward. Clamp the end of your hair, then rotate away from your face by pressing the outside arrow.
After becoming a professional Beachwaver, try curling in opposite directions for a more textured appearance:
Start by performing the previous steps.
Start each curl with the clamp facing backward (instead of forward). The outer arrow will rotate toward your face when you clamp the end of your hair.
How To Section Hair When Curling?
To learn how to section your hair, just follow these simple instructions! Bring all of your hair forward, then divide it into top and bottom sections on either side of your head. Beachwave the bottom section first, then clip the top section up. Release the upper section when the lower section has been Beachwaved. On the opposite side, repeat. You won’t ever need to curl the “back” of your hair this way!
How To Make My Curls Last Longer?
- Use Great Barrier Heat Protectant Hairspray to help keep your curls in place for days on end!
- After releasing each curl, insert your finger in the center and roll the curl up to the base into an O shape. The “O” should be pinned at the root with a hairpin. Before taking out the pin, let it fully curl.
- After curling your hair, wait until it is completely cold before brushing or running your fingers over it.
How To Make A Beachier Wave And A Bouncy Wave?
BOUNCING WAVES:
Bring the clamp up against your hair’s ends. After turning the Beachwaver once, slightly open the clamp and move the iron toward the end before turning it all the way up. To get extra volume and bounce, hold the Beachwaver at an angle.
For short hair, baby hair, and hair near the scalp, the slow pace is ideal.
BEACHY, RESTRICTED WAVES:
Clamp your hair, allowing the ends to hang out by about an inch or two.
Summary
The Beachwaver is a fantastic instrument that can produce a wide range of appearances. You may create beachy waves, stunning curls, or vintage waves using just one tool. When you clamp your hair, leave approximately 2″ of it out for a looser, beachy wave. Clamp the hair at the very end for lovely curls. Hold the Beachwaver horizontally to create classic waves, and when you release the curl, pin it up with silver clips until it cools.