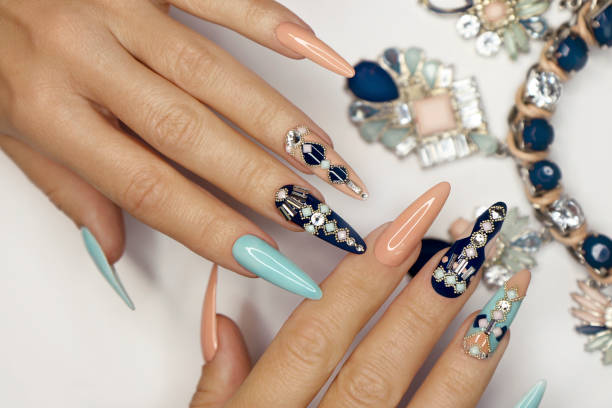
You are essentially selling press on to your audience, no matter how big or small, because they are such uniquely personalized items, according to theory. But if you are skilled in producing stunning nail art, such as Disney characters, etc., the sky’s the limit as to who would love to buy from you. Just be sure to take the best photos you can of your work.
Table of Contents
What Are Press-On Nails?
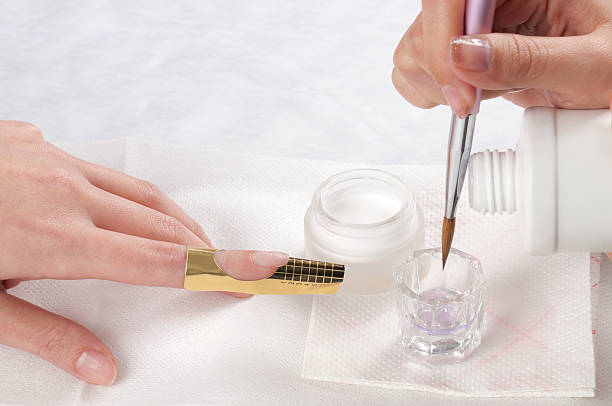
Press-on or glue-on artificial nails are exactly what their names imply—they are made of acrylic resin. Occasionally referred to as artificial nails. The products have a slight variation because different manufacturers use various acrylic resins. You will be able to appreciate the product more and take note of the reasons the subsequent steps are crucial if you are aware of what they are.
Steps on How to Make Press on Nails
Choose the Nail Shape, Length, and Size
You should first choose a nail shape. Coffin, ballerina, stiletto, oval, square, etc., are a few popular options. These shapes are available in various sizes and lengths, including short, medium, long, and extra-long. I’m not sure why, but contemplating all the various nail shapes available makes me so happy. In keeping with what I just said, let’s assume that we are size mediums and that we are aware of our sizes. Pick up two of each of the following sizes of nails: 1, 5, 4, 5, and 8.
Buff Your Press on Nails
Let’s buff each of these nails with our buffer to remove the shine from the tops of the nails. At the tip of each nail, you’ll notice a small piece of plastic. Using a regular file and a straight-across, back-and-forth motion, gently file the tabs of each nail. Keep in mind that we only need to file the tip lightly enough to remove the small piece at the tip. Although some people would rather complete this step after the nails have been placed on the nail stand, I like to do it first. It’s just simpler for me to really get a good buff and file going when the nails aren’t moving around on the stand.
Wipe Each Nail With Alcohol
You won’t want to skip this step because doing so could make your polish look bumpy, and we definitely don’t want that.
This is a step in the right direction toward getting a nice, smooth nail. Therefore, proceed to wipe each nail with your cotton rounds and alcohol.
Prepare Your Nail Stands
Before applying the nails, let’s get our nail stands ready. You will need the mounting putty at this point. The mounting putty is essentially just reusable putty and comes in a variety of colors. It easily attaches to whatever you place it on and secures it well enough to keep it in place. It’s magic, in essence, lol!
On top of each individual nail stand, I would place small balls of mounting putty. As you apply nail polish, this will keep your nail in place. Additionally, it will aid in holding your nails to the nail stand. You simply need a cute little ball, like the one in the picture below.
Once you get used to pressing on nails, you might find that you prefer to use more or less of the quantity I use. I believe this is purely a matter of personal preference. Just make sure it’s sufficient to finish the job.
Start With a Gel Base Coat.
You can now set the nails on the nail stands, as I have in the image below, after buffing and drying them following the alcohol wipe-down.
In order to get them to really stick together and stop moving around, make sure to apply just a little pressure. To avoid confusion, I like to arrange them from thumb to pinky, depending on the design I’m working on.
Let’s begin with a nice base coat before moving on to the polish. The base coat aids in giving the polish something to cling to, so I would apply 1-2. One way to prevent your polish from fading is to do this. Both the polish and the base coat adhere to the nail thanks to their sticky nature. Everything comes together to create a nice, smooth nail, which is what we want.
Add Your Polish
Apply the gel polish to the nail in the following pattern. Starting in the middle of the nail from cuticle to tip is the best place to polish the nails. If the polish is dripping from the brush, it is definitely too much!
Then, move your brush along the nail’s left side from cuticle to tip and its right side in the same manner. Smooth movements are required for this.
Tip: When adding polish, be sure to use at least 2 coats; I personally would suggest 4 coats. Avoid holding the brush at an angle, and apply thin coats only. The polish will look less bulky thanks to the thin coats. The number of thin coats will aid in creating a stronger, more durable nail.
Afterward, make sure there isn’t any polish underneath each nail by checking each one to see if it has spread. If so, you should trim off the excess before applying the UV lamp. To avoid bumps or waves in the polish, always wait a few seconds after the polish has dried on the nail before exposing it to the UV lamp for 60 seconds.
Applying the Top Coat
The final step in the procedure is to apply a nice juicy (LOL) layer of a no-wipe gel top coat to the nails in order to give them some shine after the second coat of gel polish has dried on each nail.
Language: The term “no wipe” simply refers to the clingy residue that some gel top coats leave behind and that you would typically have to wipe off with alcohol. When you purchase the “no wipe” top coat, you “shouldn’t” have to do this.
All Done!
How Long Do Press on Nails Last?
Often, the smallest actions have the biggest effects. Here is how you can make your press-on nails last up to two weeks!
1. To make sure there is no remaining natural oil on your nails before applying your falsies, use rubbing alcohol. The smallest amount of natural oil or residual polish will decrease the integrity of the glue
2. After the application, stay out of the water for at least two hours. We advise having your manicure done late at night, right before bed.
3. You should use high-quality glue. Even though your press-on nail kit likely includes glue, it’s always a good idea to have a backup on hand, especially if it’s one you know and trust. Make sure you carry a bottle of glue wherever you go in case any of the press-ons decide to pop off
4. It always helps to rub cuticle oil into your fingers. It helps to improve the health of your nails
5. A top coat will not only give your nails a polished, professional look but will also improve the adhesion of both your natural nail and your false nail. Topcoats tend to harden the nail surfaces which makes them more durable
6. Longer press-on nails should be avoided in favor of shorter ones. The majority of products on the market are, regrettably, lengthy. However, you can always cut them down to your desired length using a nail cutter
7. Swim less; chlorine has been shown to weaken and taint artificial nails. Applying a top coat before swimming is one way to add another layer of protection and help combat that, as we suggested above. We need to take precautions to safeguard that gorgeous nail art.
Summary
Press-on nails are incredibly economical because they can be reused. Make sure to keep your press-on nails apart from the ones that are still in the kit if you intend to reuse them. You can now participate in the artistic nail trend on Instagram without breaking the bank, and you can even get them delivered to your door every month!